
I have been reading lots of materials and resources about developing your own SQL Server Integration Services custom component which took me a while to understand the function and required component needed to developed my own custom SQL Server Integration Services component. What I will do here is to explain and show a simple demonstration and code required to create a custom component.
This is a Trim Custom Component as this function can be done at Derived Column Component yet to make this demonstration as simple as possible, using the Trim function is sufficient enough.
To begin, create a Class Library Project then add References as shown below
This is a Trim Custom Component as this function can be done at Derived Column Component yet to make this demonstration as simple as possible, using the Trim function is sufficient enough.
To begin, create a Class Library Project then add References as shown below
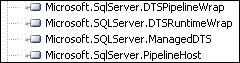
Needed to add Component Name listed below:
Microsoft.SqlServer.DTSPipelineWrap
Microsoft.SQLSever.DTSRuntimeWrap
Microsoft.SQLServer.ManagedDTS
Microsoft.SQLServer.PipelineHost
Once added, lets start coding...
Microsoft.SqlServer.DTSPipelineWrap
Microsoft.SQLSever.DTSRuntimeWrap
Microsoft.SQLServer.ManagedDTS
Microsoft.SQLServer.PipelineHost
Once added, lets start coding...
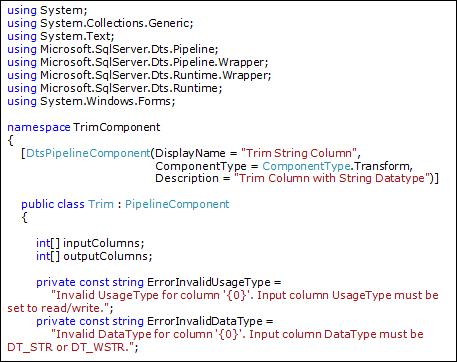
What need to take note is the DtsPipelineComponent which its required to create the component to be seen on SQL Server Integration Services Data Flow Transformations and the PipelineComponent base class. The other code is to declare variables.
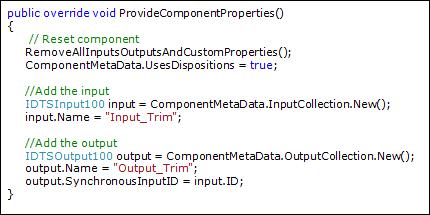
Basically this code is to provide the component properties which first it will reset the component, then add the input and output collection everytime it loads.
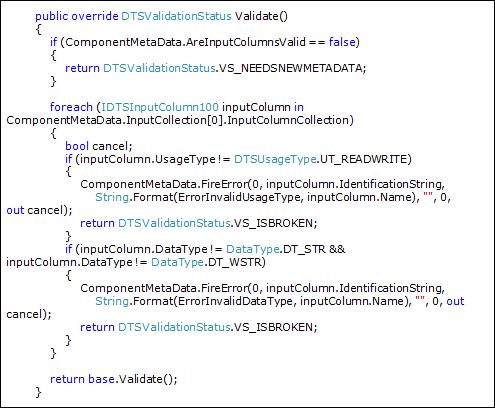
This code is execute during Design Time of the component. Validation of the selected column which the code perform checking on selected column to is 'Read and Write' and make sure the datatype is String format.
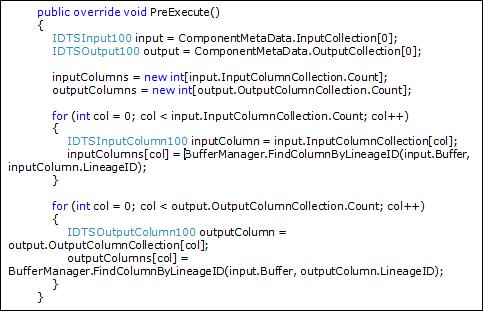
This section of the code execute during early stage of Runtime which will populate the input and output collection.
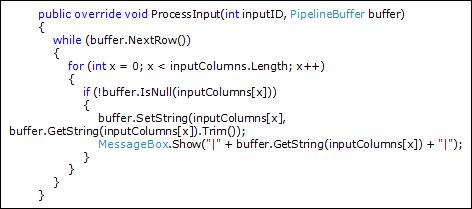
This section of the code execute during Runtime and basically this is where the Trim function take place. each column has its own ID where it was generated on PreExecute function.
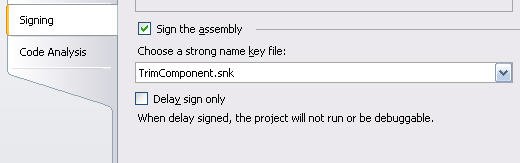
Next, go to your project properties then Signing Tab, then click on the "Sign the assemble" and Create a
*Will update soon on adding the custom component that has been built to SQL Server Integration Services package.
No comments:
Post a Comment